|
Creating your first form with Form2pay Form Builder requires no additional programming knowledge or html coding.
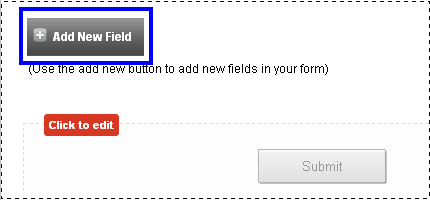
- Simply click on the Get Started button on the screen.

- Enter a form name and title.
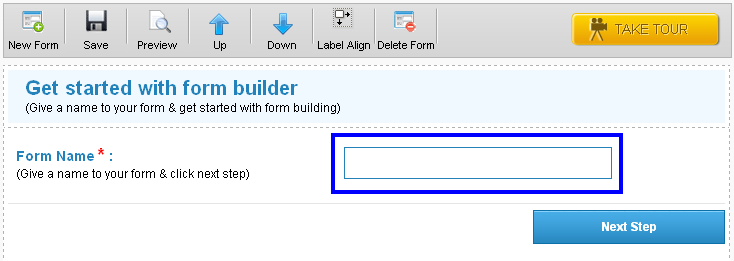
- The form name and title helps denote the purpose of the form and will make it easy for you to store and manage your forms in the future.
- You will now see three options in Form2pay Form Builder namely – Blank Form, Template and Existing Form.
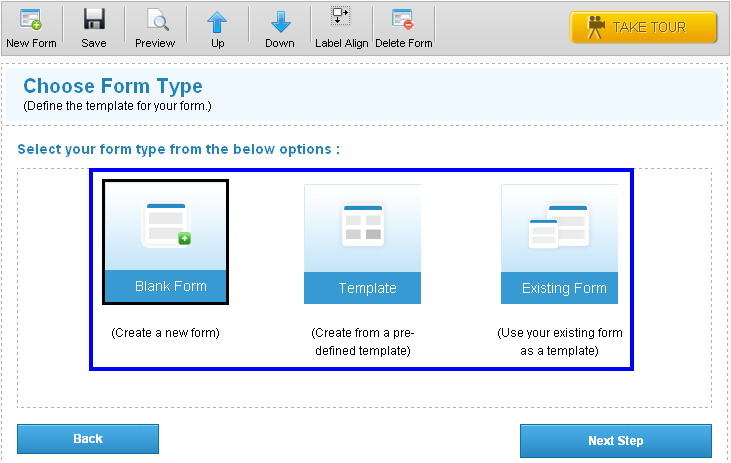
- The Blank form allows you to create an entirely new form.
- The template is a pre designed standardized theme, based on which you could create your new form.
- You could also opt for the existing template, and choose from any previous templates that you might have saved.
- Technical Fields are more for advanced users.
- Quck Fields are for users convinence. They are ready to use fields.
- You can click on name, Email address, Date, Time etc to add a field as required by your form.
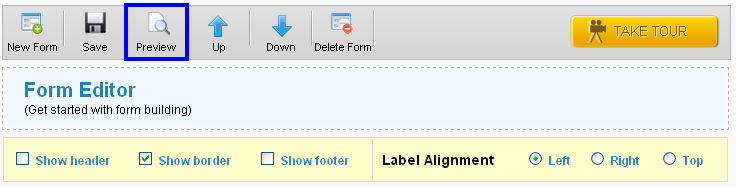
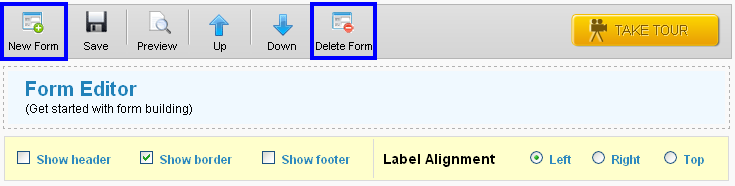
- Click on the Save button at the top of the screen.

- To preview the changes on the form, click on the preview button at the top of the screen.
- You can add or delete forms by clicking on the New Form button and Delete Form button at the top of the Form Builder Screen.
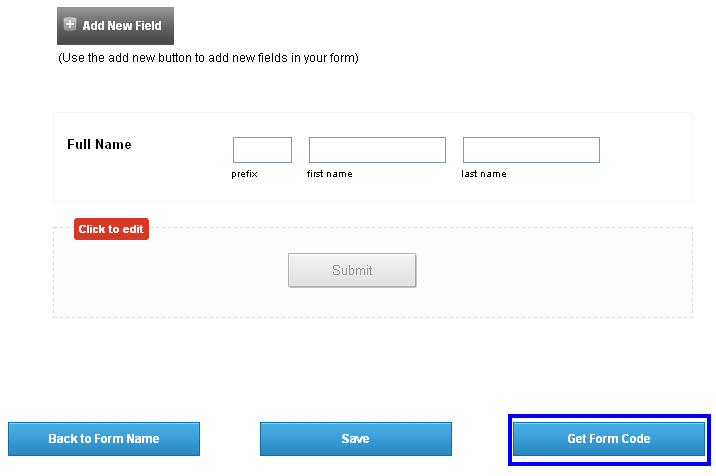
- To get your form code. Click on Get form code to acquire the html code, link or script to the form you have created.
- From2pay form builder have the option of choosing from a link, Html code, and a JavaScript.
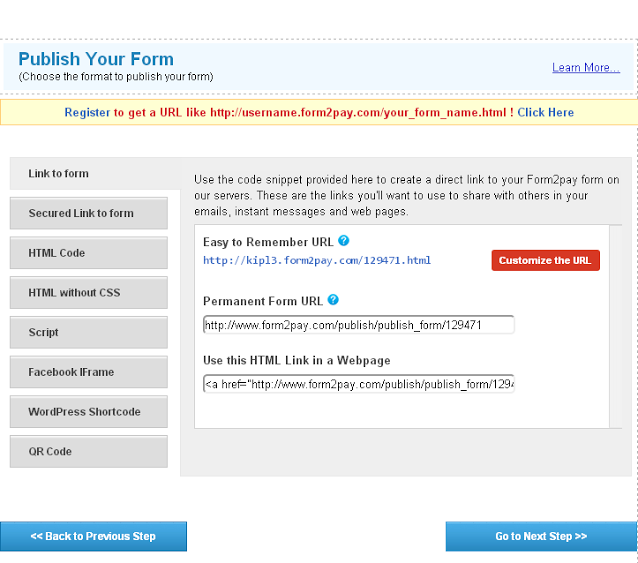
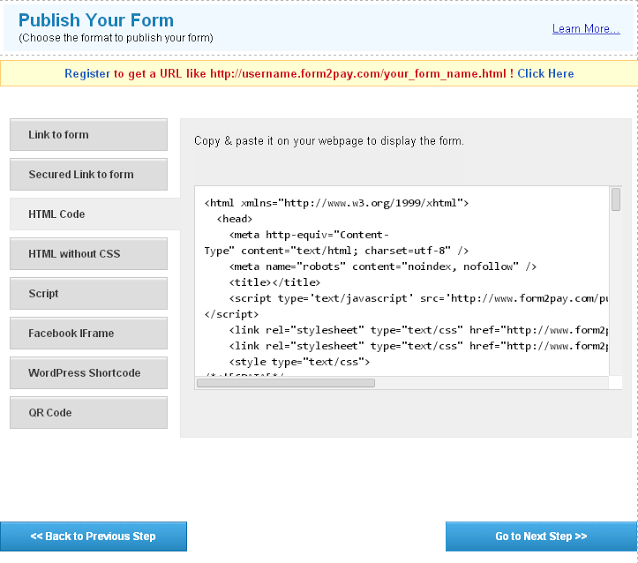
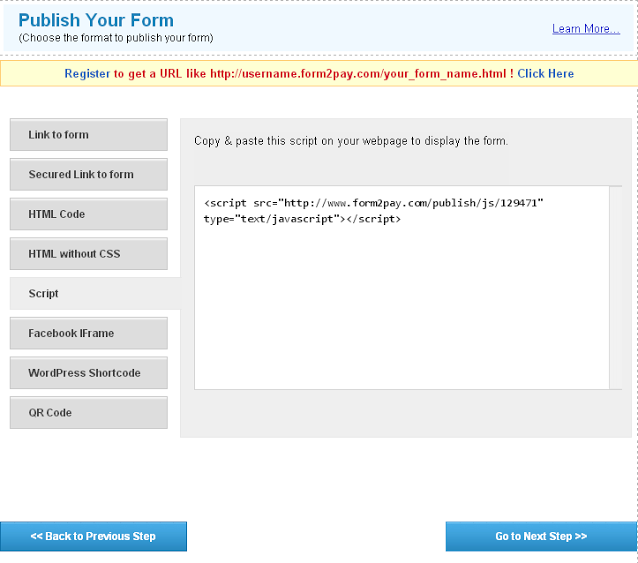
- There is the option of an Html Code with CSS and without CSS as well.

- Copy the link, script or Html code to paste on your website.
|